• Menu
  • Skip to primary navigation
  • Skip to secondary navigation
  • Skip to main content

Luxury Home Stuff

Home, Kitchen, Woodworking, Health and Beauty Ideas

  • Woodworking & DIY
  • Blog
  • Affiliate Disclosure
  • Privacy Policy
  • About us
  • Contact us
  • Woodworking & DIY
  • Blog

How to Change Bulb in Recessed Ceiling Light with Cover: A Complete Guide

"I hope you love the products I recommend! When you buy through links on luxuryhomestuff.com, I may earn an affiliate commission."

Learn Everything You Need To Know About Recessed Lighting And Changing The Bulb In A Recessed Ceiling Light With Cover Through This Simple Guide.

Does your ceiling has recessed lighting fixtures? Did they, for any reason, suddenly stop working? Do you want to change them yourself but don’t know how to? Well, you don’t have to look any further. Our complete guide will teach you how to change the bulb in recessed ceiling light with cover yourself. 

More...

What is a Recessed Ceiling Light?

Recessed ceiling lights are lights that are installed directly inside the ceiling so that they are perfectly aligned. They are considered by some to be more in tune with their chosen aesthetic because they blend well with their surroundings. 

They are usually uncovered, but in some cases, such as in the bathroom, they come with a cover so as to give the fixture extra protection or just to add to your home’s overall aesthetic.

However, changing a bulb like that of a Candelabra B?ulb in recessed lighting can be a difficult task because the bulb isn’t as easily accessible as with other types. Despite this, learning how to change a bulb in recessed ceiling light with cover isn’t impossible.

Just follow these steps and you’ll be good to go.

Recessed lighting in bathrooms is usually covered to avoid damaging your lights with steam

• Materials Needed

  • Box cutter or small knife: If you don’t already own one, you can buy this in any hardware store or even at your local bookstore. You can also buy them online if you don’t have the time to drop by your nearest store. The cutter/knife will be used when removing the cover from your recessed lighting.
  • New light bulb:This can be bought in any hardware or electrical supply store. Just make sure the bulb you’re buying is compatible with your fixture and bright enough for your home.
  • Pair of gloves: Again, this can be bought in any hardware or electrical supply store. It’s not necessary but as a safety precaution, it’s best if you wear gloves when replacing your bulb so as you don’t accidentally cut yourself in case it breaks while replacing it.

Be careful in handling both the cutter or knife and the light bulb as they can cause injury if not handled properly. It’s best if you set aside the new light bulb to a place where it’s accessible but won’t get in the way while you remove the old bulb.

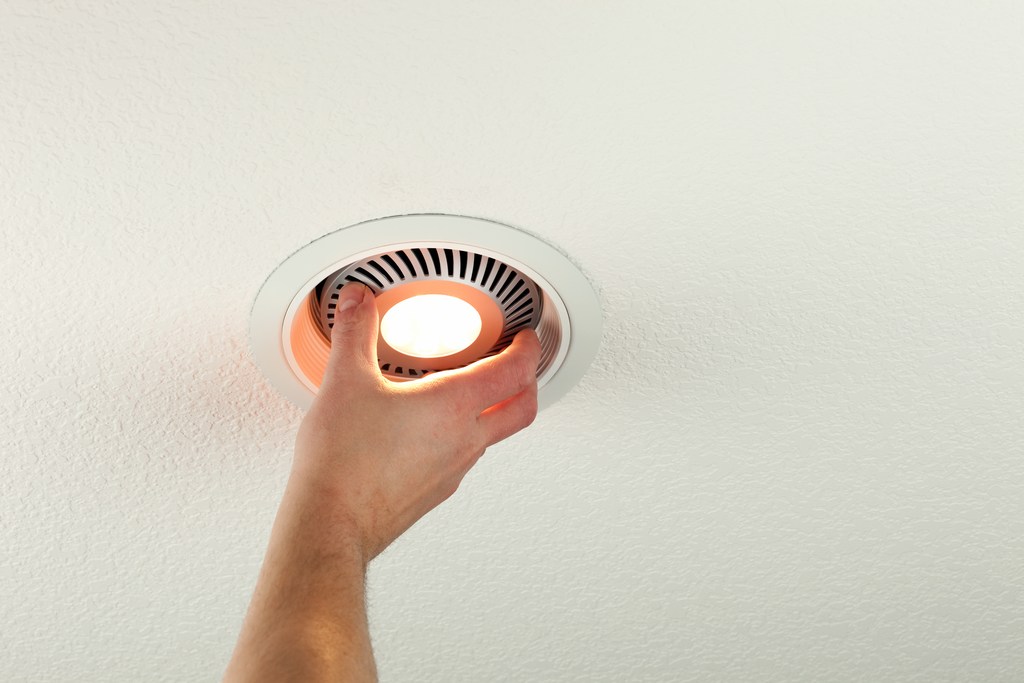
The bulb in your recessed lighting can be difficult to access so changing it can pose quite the challenge

• Steps to Follow:

  • ?First, make sure to turn off the lights or cut the electricity off before you replace the old bulb to avoid getting electrocuted. Also, wait a few minutes after to ensure that the light bulb is cool to the touch, so you won’t burn yourself when replacing it.
  • ?Ensure that your step ladder is secure. It’s best if you have someone to steady the ladder for you while you do your work so as to avoid any potential accidents. If you can’t find anyone to spot you while you work, just ensure that the ladder doesn’t wobble and can be stable enough while you work.
  • ?Using the cutter or knife, cut away the paint around the rim of the cover to make removing it easier. Make sure that you do this carefully and avoid damaging the paint on your ceiling. Cutting away the paint is necessary if the surroundings of your fixture are painted so as to avoid damaging your ceiling when you pry off the cover.
  • ?Again, with the cutter or knife, insert it between the outer rim and the ceiling, then slowly pry off the cover. Then, cover usually composed of the plastic lens within a metallic rim. Be careful when removing the cover, for it’s affixed to the ceiling via springs which will be difficult to remove. Try to apply pressure until it comes off. 
  • ?Once you have removed the cover, you can now replace your old bulb with your new one. Slowly twist the old bulb when removing it to avoid accidentally breaking it. It’s best if you’re wearing gloves for this step in case the bulb does break. The gloves will prevent any accidental cuts from the small pieces of glass.
  • ?Once you have replaced your old busted bulb with your new one, put the cover back in its place. The springs will usually automatically click into place once you press the cover back into the ceiling.
  • ?Turn the electricity back on, and enjoy your newly changed recessed light bulb.

Conclusion

Recessed lighting is a wonderful addition to your home’s lighting fixture and overall aesthetic, but changing the bulb, especially when it has a cover, can be quite challenging. However, with the right tools, along with the help of our guide, changing your covered recessed ceiling light bulb doesn’t have to be as difficult.

Just follow the aforementioned steps, and you can replace the busted light bulbs yourself. Just make sure that you prioritize your safety as it can be dangerous. For more valuable articles related to LED, check out KRM Light+.

Previous Post: « Dyson vs Shark: Which Vacuum Should You Choose?
  • Affiliate Disclosure
  • Privacy Policy
  • About us
  • Contact us
Copyright © 2023 Luxury Home Stuff All Rights Reserved