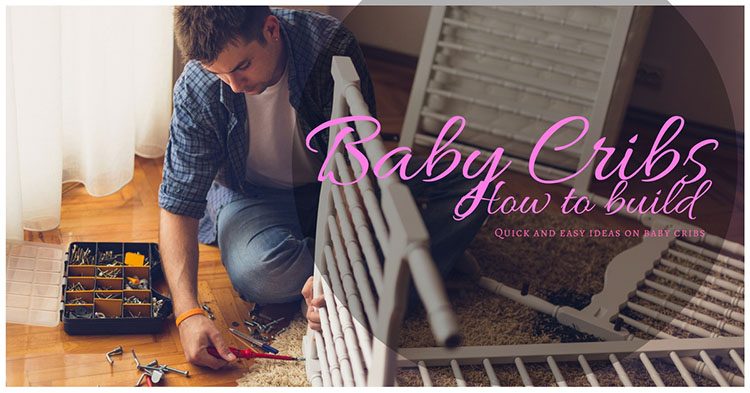
Here is my short story on a topic of how to build a crib. With my nephew being born I now have concrete proof to what I have always known, having a baby is expensive. Sure, there is joy and happiness along with the many restless nights you also have to looks forward to shelling out a lot of cash for so many baby things.
See Also:
More...
Very Simple Ideas On How To Build A Crib?
So if you might be able to make something on your own, it would save a few dollars and also hold a lot of sentimental value over the years. Though it is obviously not as easy as just buying it, it is not very difficult either.
Safety Guidelines For Cribs
Another top concern would be the safety. But with some effort and awareness the crib you can make with your own two hands is not more unsafe than anything you would buy from the shops.
But do keep in mind that there are some governmental safety guidelines for cribs, bassinets and such that must be kept in mind always. Also you would not be the only one perhaps to think how time consuming this whole ordeal will be. I was too.
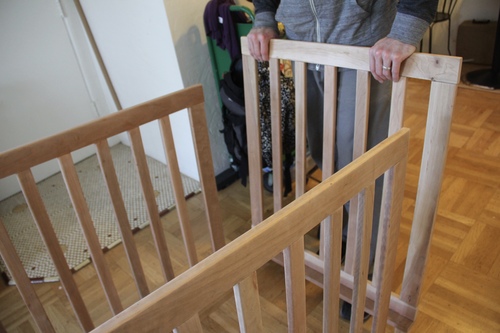
When making the crib for my sister’s baby, I had decided to pick up the lumber on a Friday, and worked on it on Saturday and Sunday and with some finishing touched during the next two days was able to surprise her with it on Wednesday. If you are really dedicated though, you might have it done by a day and half. I am very much a lazy persona and love to procrastinate and even for me it was pretty quick.

Lumber
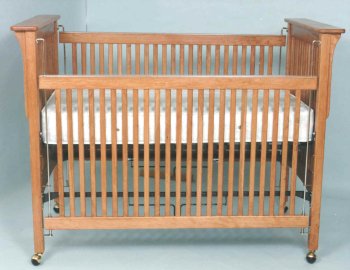
The first thing is to select the kind of baby c?rib design you would want. There are many types of baby cribs from which can choose. Firstly there is the adorable piece that is the baby doll crib (as picture). It has lots of play value and beautiful styling for your daughter to enjoy with her doll. It is lovely and will make sure that your baby girl knows that she is a princess from the get go.

Badger Basket White Doll Crib with Cabinet/Bedding/Mobile/Wheels (fits American Girl dolls) via Amazon
Another option is the rustic baby crib. It was a woodsy exterior and brings the feel of the outdoors into your baby’s nursery. It is available in a wide range of prices in a wide variety of options across different brands so there is bound to be one to suit every need. It is very simple and neat and looks so good in the room.

Stuffed animal heads mounted to the wall! So cute! | One day we will meet via Pinterest
To make this a woodworking project and a DIY and to make the entire thing from scratch the first thing you would need are some baby crib woodworking plans. You can find very b?asic baby crib design?s or luxury baby crib designs on the internet and if you are a person who believes that no the best things in life are not actually free there are some specialized pans you can also buy from different vendors.
Basic Tools
To follow along with instructions regarding how to put a crib together at home you would require some basic tools, most of which might already be available to you anyway. You would need these following tools and materials:
- Stop block
- Paint Brushes
- Table saw
- M?etre saw
- Scroll Saws
- Orbit Sander
- Cordless Drills or Corded Drills
- Finish nails
- 3” screws
- 3 1½" screws
- 1 ½" screws
- 1 pack of small metal "L" brackets (4 brackets/pack)
- Wood glue
- Rustoleum Varathane Stain
- Poly (Early American)
- Steel wool
- Minwax Paste Wax
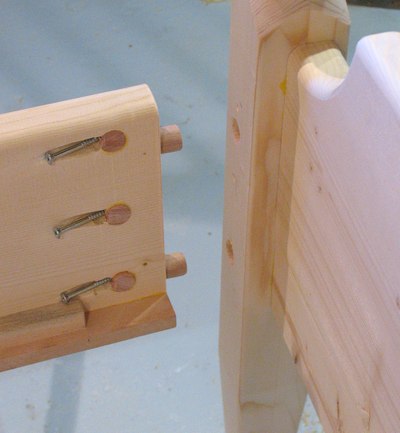
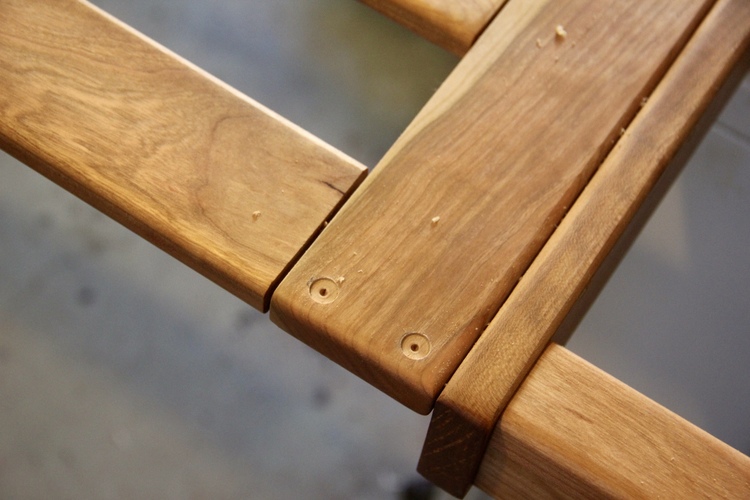
The joints of the crib are rabbeted with a dado blade on the table saw, allowing the rails to slot in to the posts a quarter inch.
Material List
The material list to get a crib with suitable baby crib dimensions is :
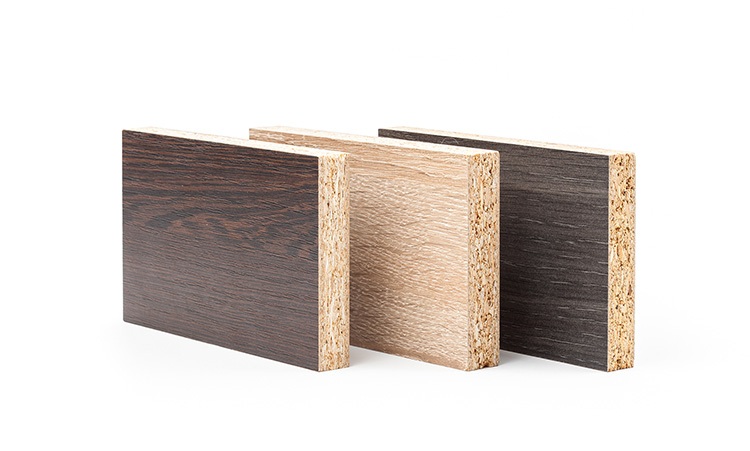
- 1 sheet of 1/2 inch mdf
- 1 sheet of 1/4 inch mdf
- 5 8-foot lengths of 1x6 poplar
- 1 8-foot poplar 2x4
- 9 6-foot 5/8 inch dowels
- The frames should all be made from 3/4 inch timber
The pieces need to be cut various lengths and sizes using the mitre saw and a stop block.
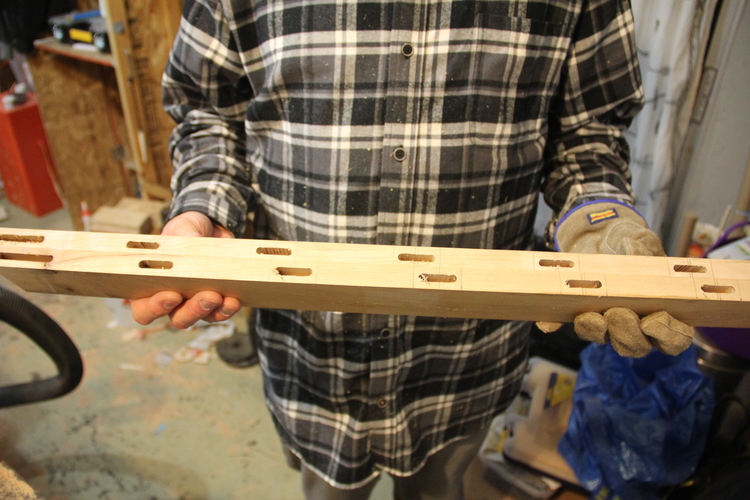
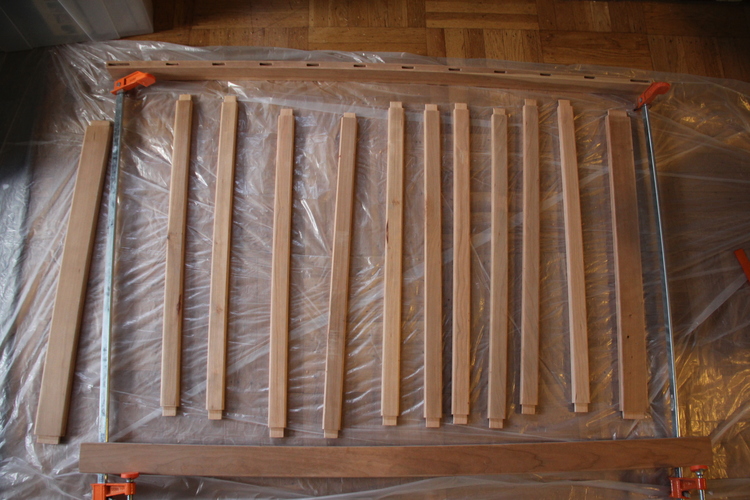
With all of the pieces cut to size, the next task will be to cut up the dados and rabbets. All the pieces should be such that they fit together easily. The rail pieces for the front, into which the bars get glued, would be an inch thick (and not 3/4). They are cut from 2x4 stocks and only the ends get tenons.
Vdeo on How to make a baby crib via Pauls Workshop
Setting up the Basic Structure
With all of these pieces cut and set out, it is better to set up the router table and ease the all the edges of every piece that has been cut. After all the corners have been done, it is better to sand the corners a bit. The faces with dados in them will not be easy to sand at the end.
Cutting and Drying the Pieces
In an hour or two all the pieces should be cut for this such that they fit the frames.And once they're cut, dry fit the pieces and test them.
.jpg)
Cutting the lumber into pieces and ease the edges via IBuildIt.Ca
.jpg)
Lumber pieces cut and set out via IBuildIt.Ca
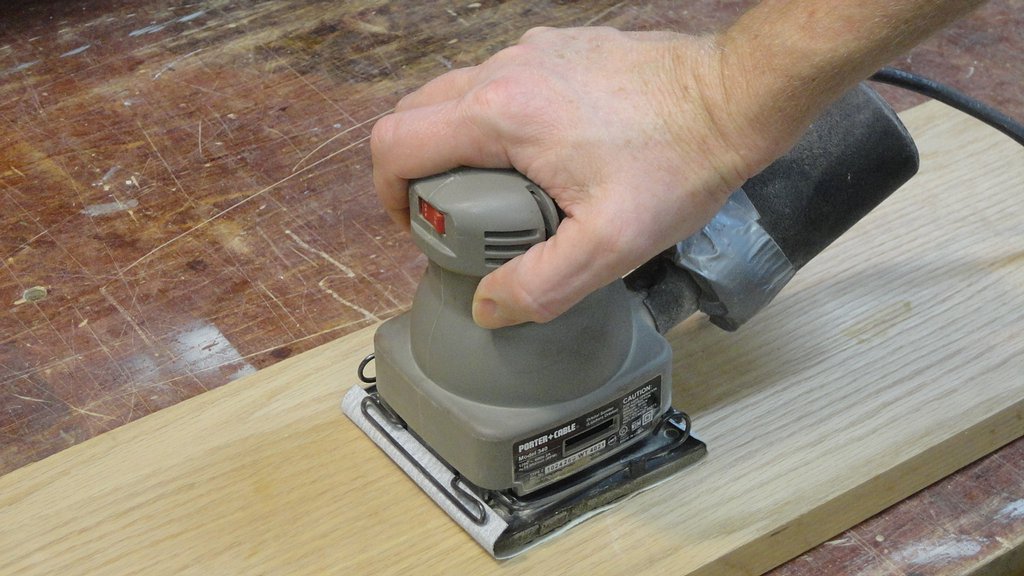
Sheet and Palm Sander via Woodbin

handheld drill via StartwoodWorking
Picket Holes Open Via WoodGears.Ca
For the Mattress
Before anything else, the system for supporting the mattress is the one that needs to be started. One set of slots that was previously marked would be for the high mattress position, the other set for the lower. These need to be carefully marked out so they all match. And then they are ready to be assembled.


Gluing it up
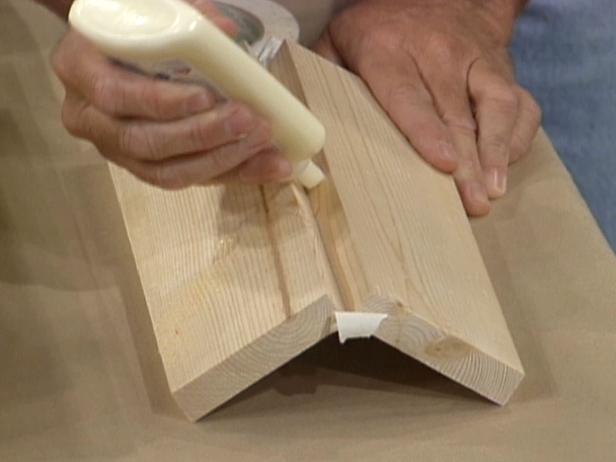
Tips on how to glue Via DIY Network
5 Types of Wood Glue
- PVA GLUE
- HIDE GLUE
- EPOXY
- CYANOACRYLATE GLUE
- POLYURETHANE GLUE
You can buy them on Amazon or market store or just click here to see all the available types of wood glue.
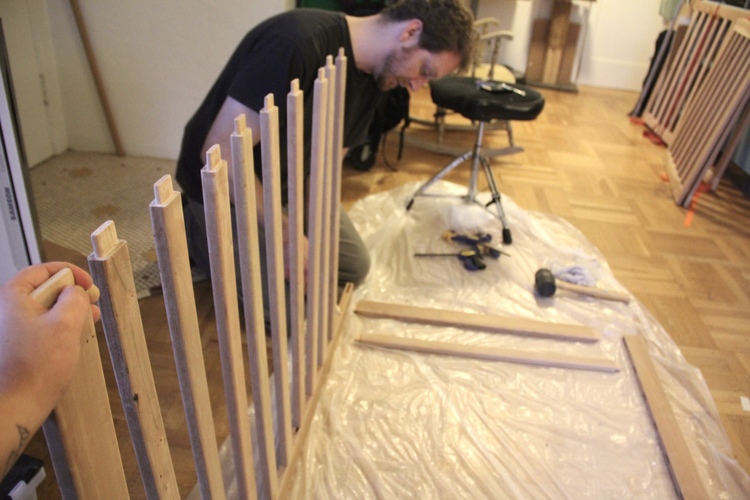
Begin with the back panel and start gluing using any wood glue. Then assemble the end panels of the crib. After that cut all the dowels to length and drill the holes in the front rails.Once that glue is dry, glue together the front bar-assembly of the crib with the rails inserted in the dados of the end panels.
That is, you need to use the glued-up three sides of the crib to hold the rails square to the bars while the glue set. Let the rail and bar assembly glue set and then stick the dowels to the front.
The Final Step
two long pieces of wood Via MoonishGoods
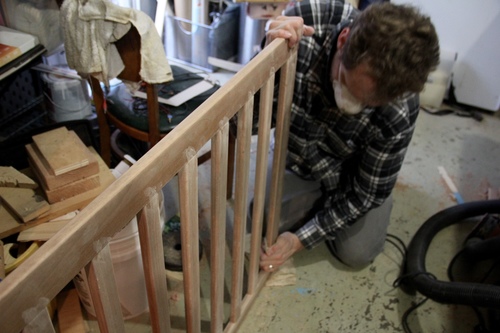
Cut two pieces of wood long enough to have an inch sticking out each support slot in opposite ends of the crib. Now mark these pieces just at where they reach the inside of end panels of the crib.
Long stick of wood via MoonishGoods
Sticking wood together via MoonishGoods
via MoonishGoods
via MoonishGoods
Varnish the wood with paints
All of these being complete, the crib needs a few coats of paint. After the paint is complete dry, your homemade crib is ready to use.
Oiled Up And Ready To Assemble via MoonishGoods
Your Final Product
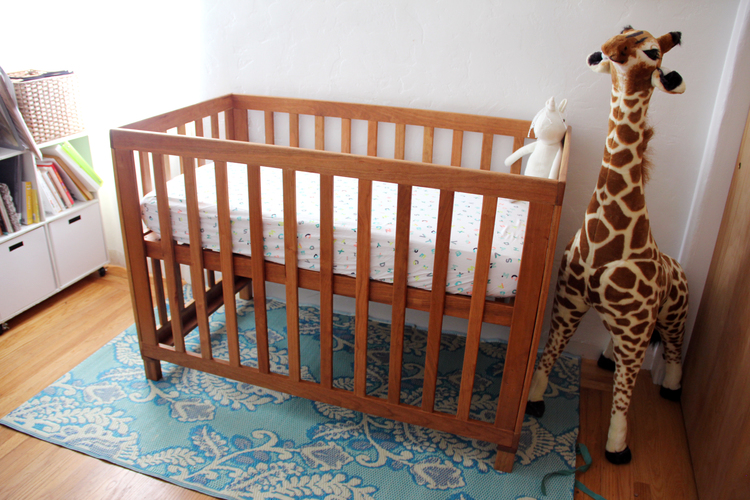
Baby Crib via MoonishGoods
Two more Awesome Videos on
"How to build a crib"
Walnut and Maple Baby Crib By Matthew Cremona
?Please support Matthew on what he's doing by visiting his site: http://www.mattcremona.com/support
Reclaimed Barnwood Bassinet By blazingnailgun
Your can download an as-built Sketchup model of this project here: http://www.luxuryhomestuff.com/#redneckdiy.com/downloads/barnwood-bassinet-plans/
Also, Please support bassinet by visit his site RedneckDIY